This is your basic guide to Elementor, if you follow these simple steps you will quickly be familiar with the basics that you need to know, you can then build upon these skills and soon become an Elementor pro!
STEP 1
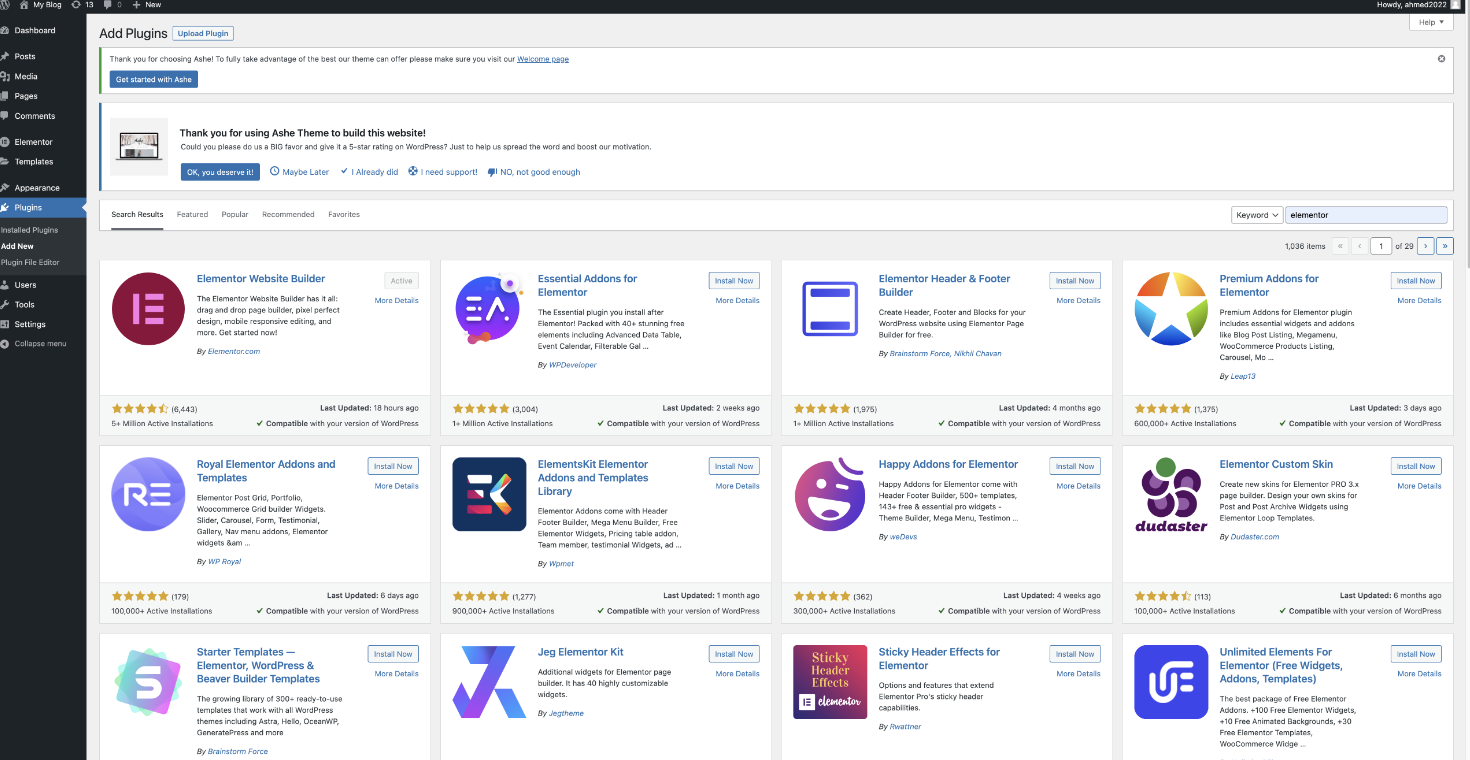
First, add a plugin to your wordpress site and install elementor.
STEP 2
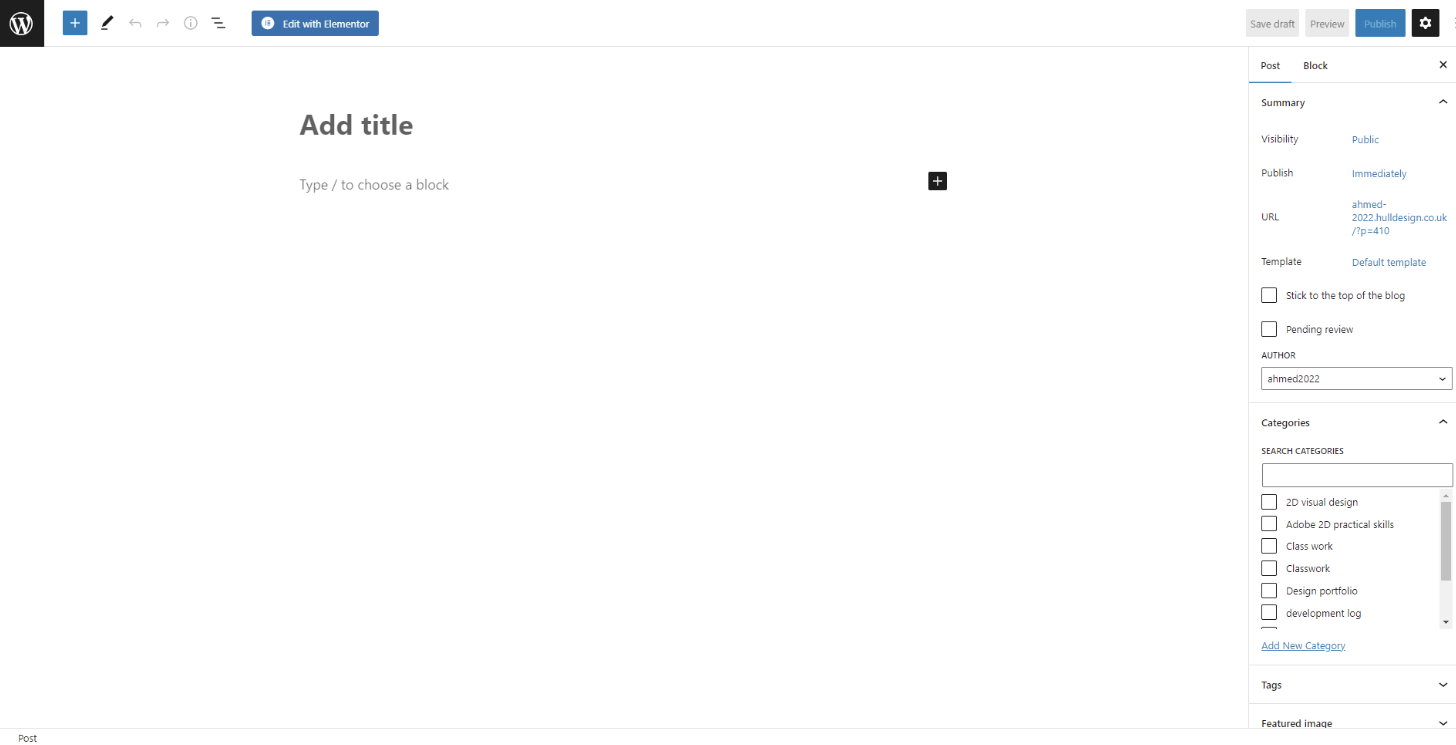
Next you must add a new post, then click 'edit with elementor'. This will take you to elementor allowing you to begin using elementor to design your page.
STEP 3
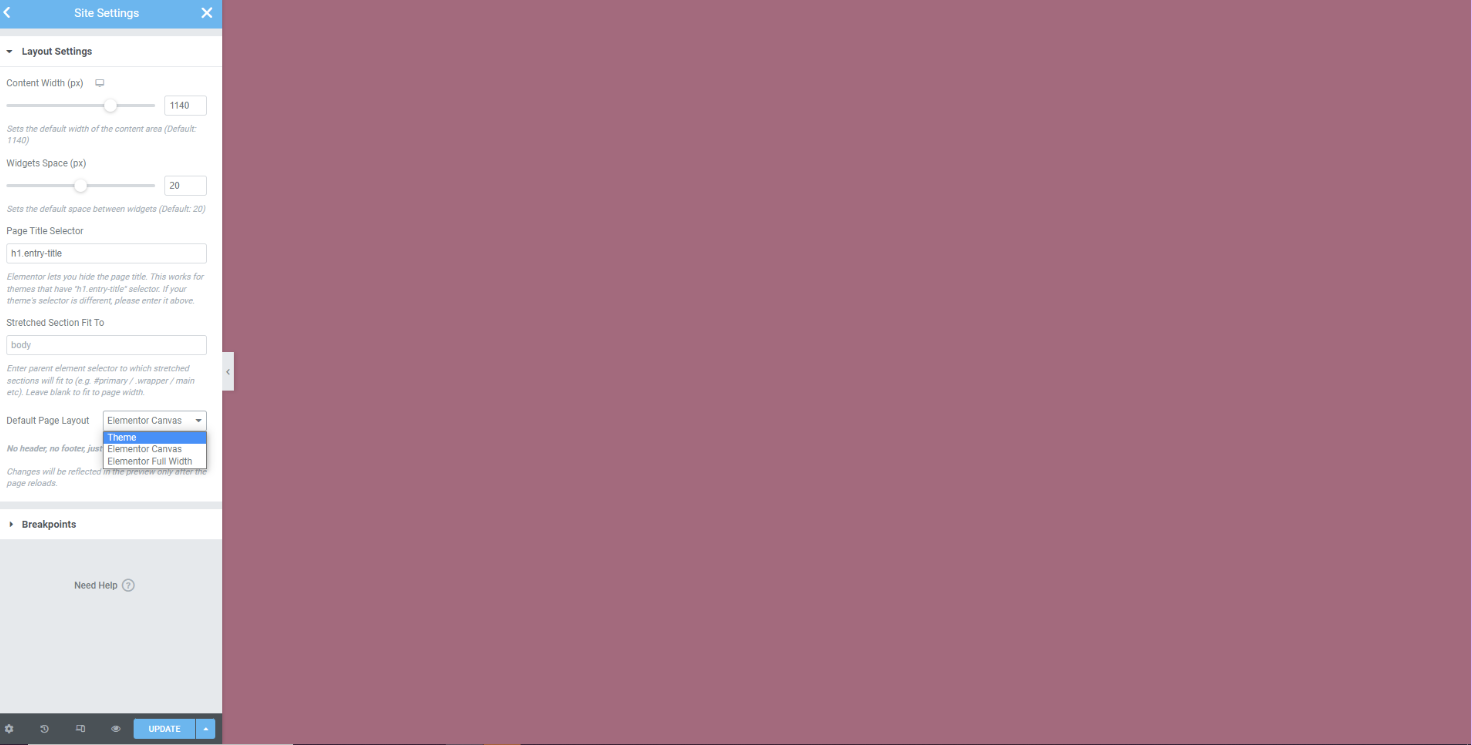
Go onto site settings and select layout, change it from theme to elementor canvas, this is to ensure you have a larger and clearer space to work on.
STEP 4
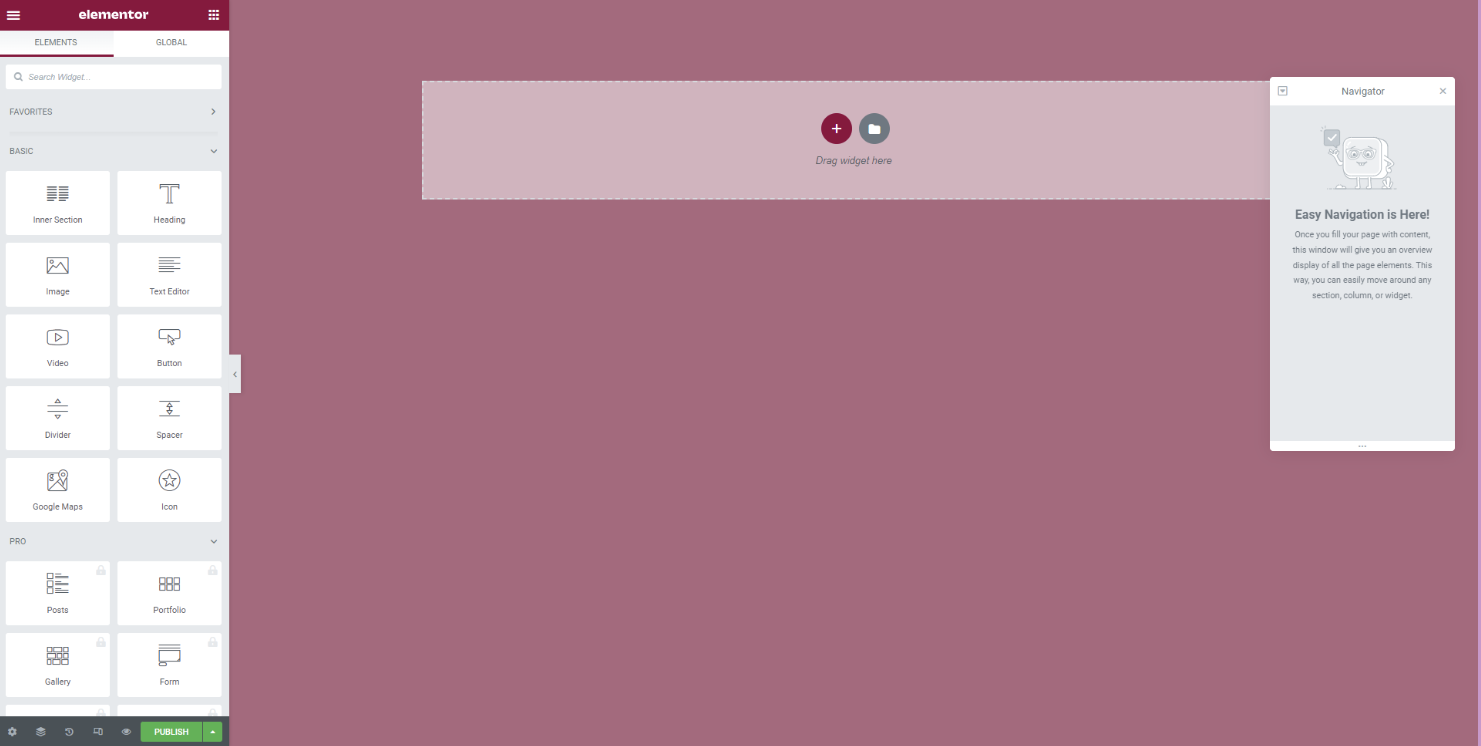
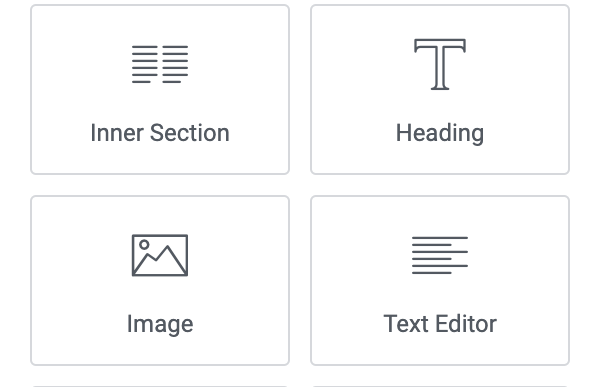
Now that you have set up you elementor page, you can learn some main elements of elementor. From now there is no wrong or right order to go in as it is entirely dependant on the page you want to create. On the front page in the centre there are two icons, a red plus icon and a grey file icon. The file icon gives you the option to use a template within elementor and choose the layout of your page, whereas the plus icon allows you to select your structure for your layout and what you want to put into those sections, whether that be text, images or both.
STEP 5
To use the elements on the side, you simply drag and drop them onto the section you would like them to be on. You can change the sizes of the columns you want by dragging the edge of the column to either the left or the right.
STEP 6
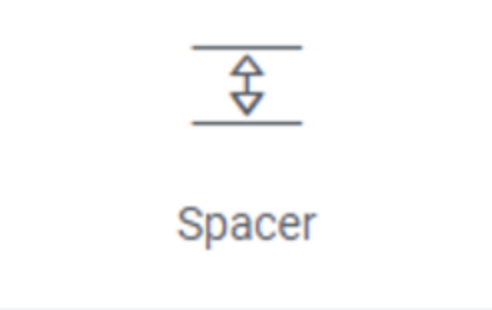
A spacer is extremely important as it ensures the things on your page are never too close together and everything is presentable and readable. to do this, add a section and drag the spacer icon into the area you want to separate, then, if you want to move it around more click the dots on the blue tab and use this to move the spacer.
STEP 7
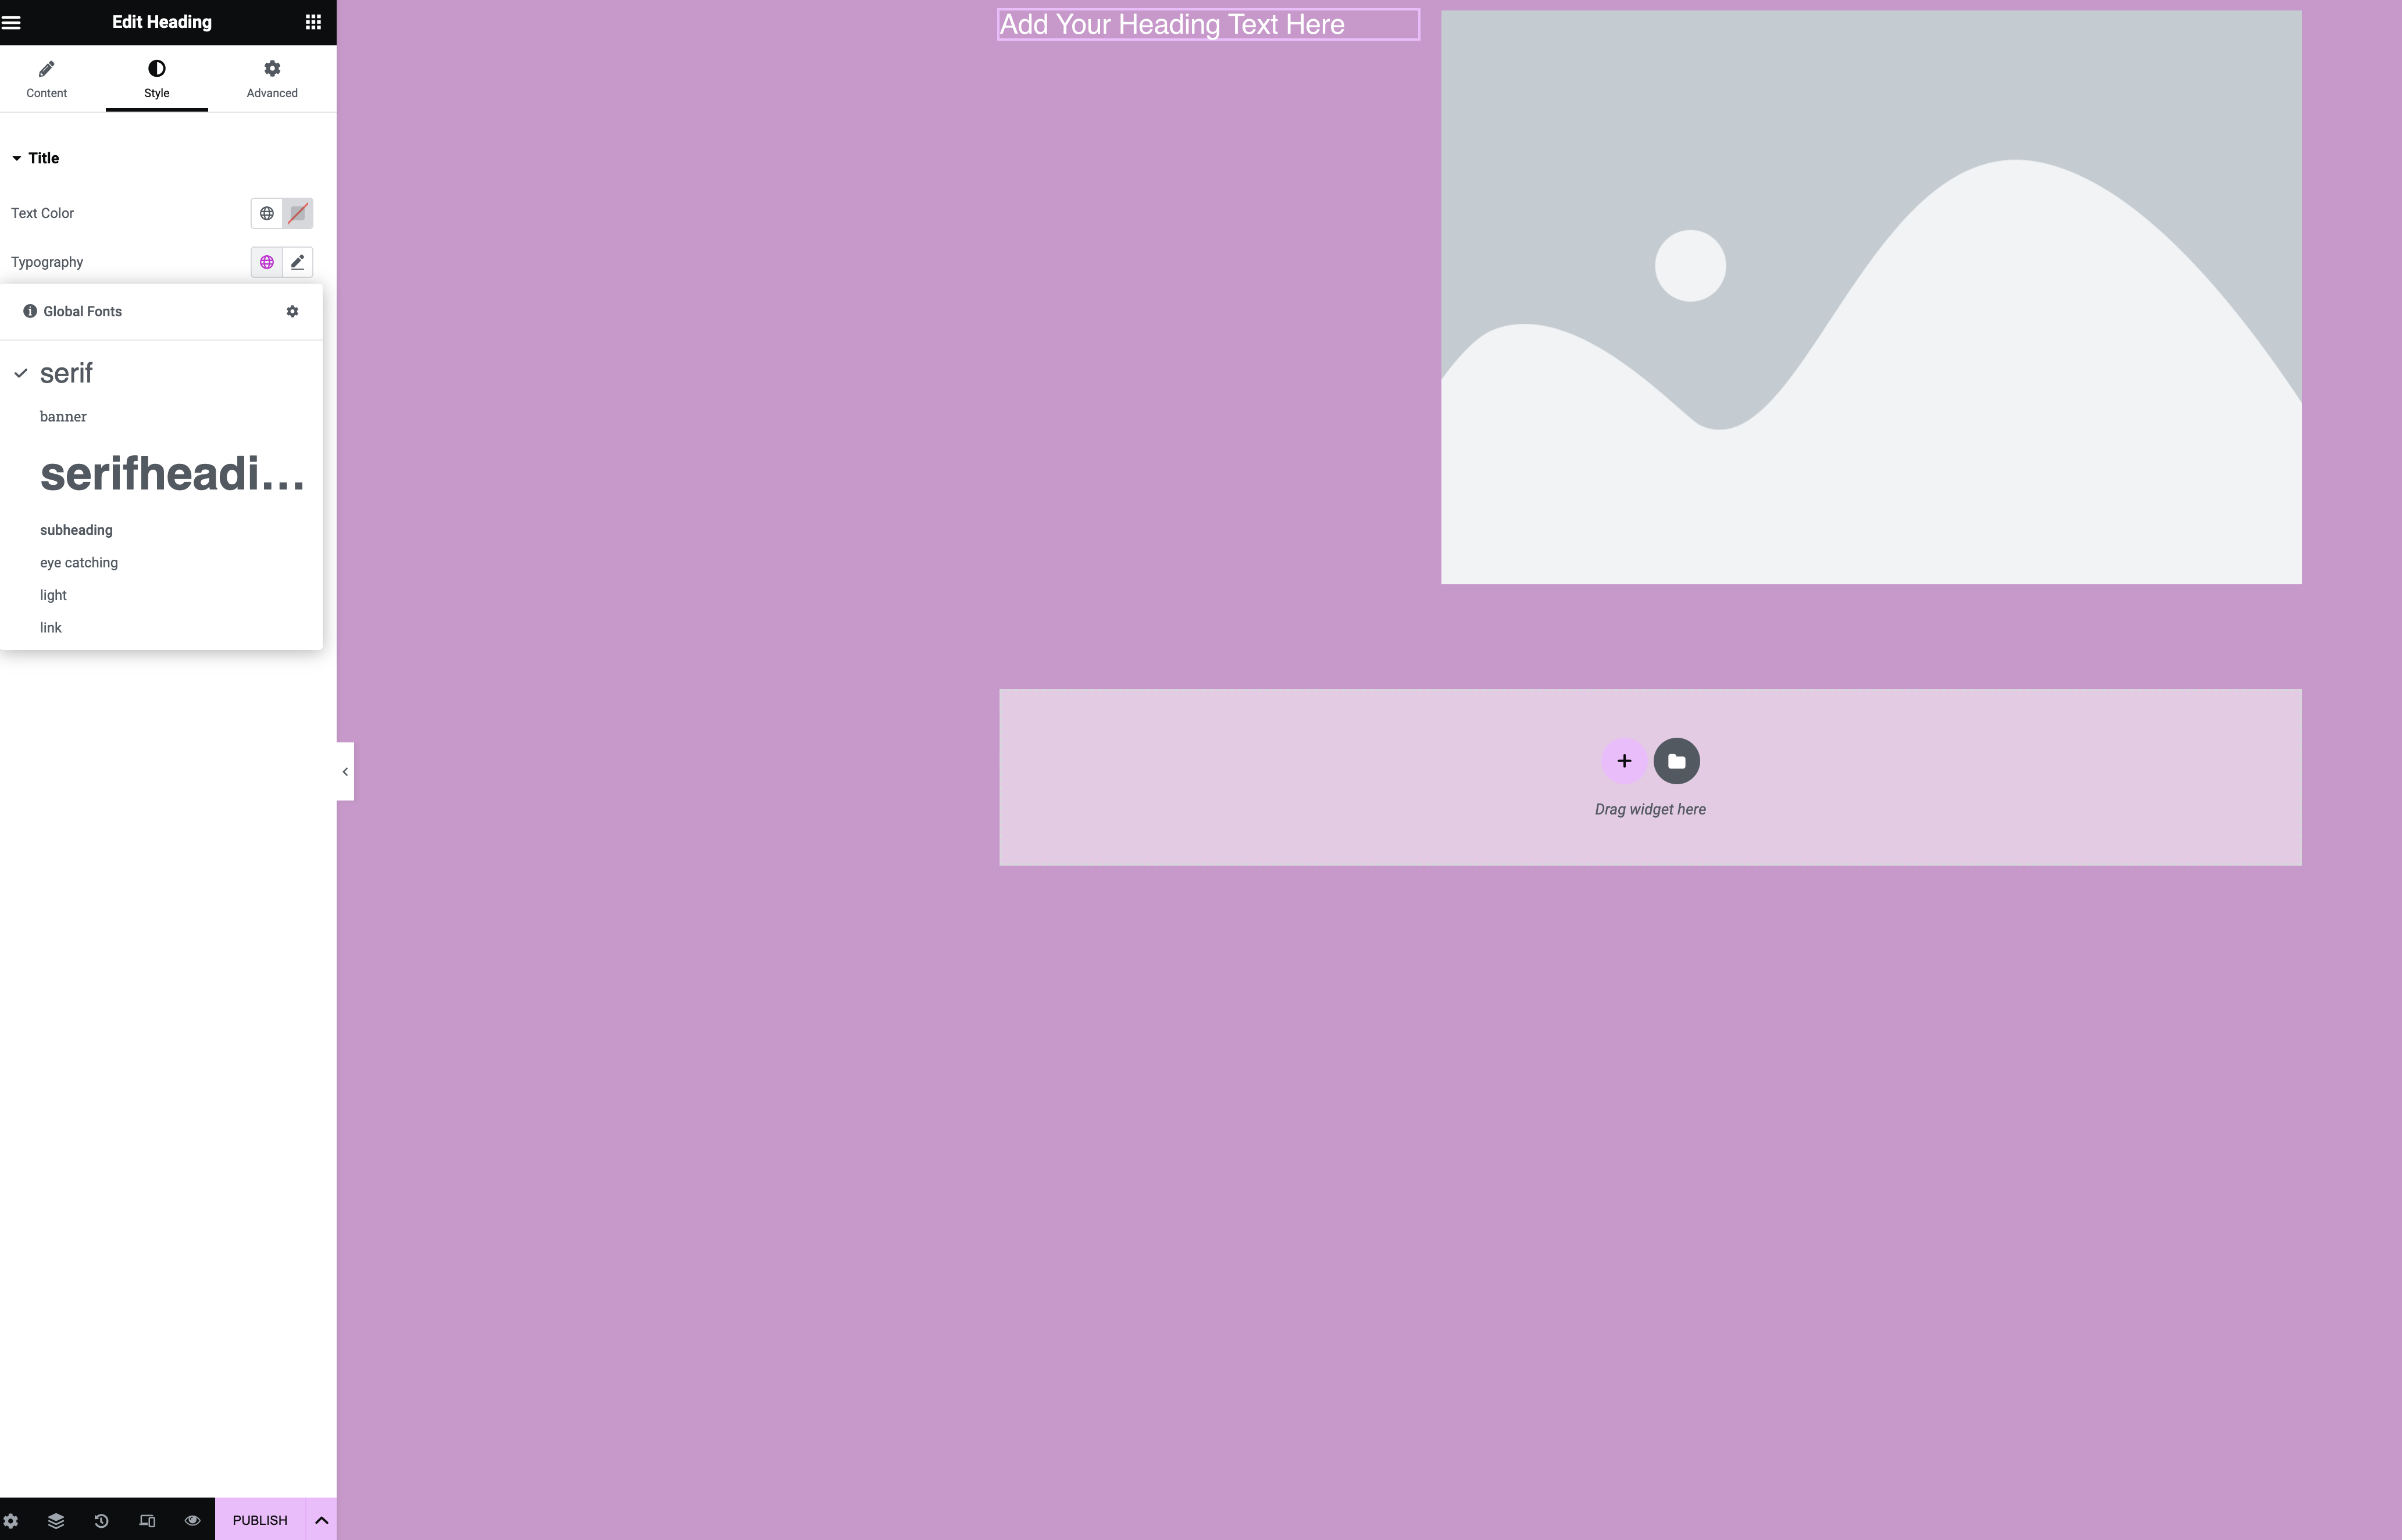
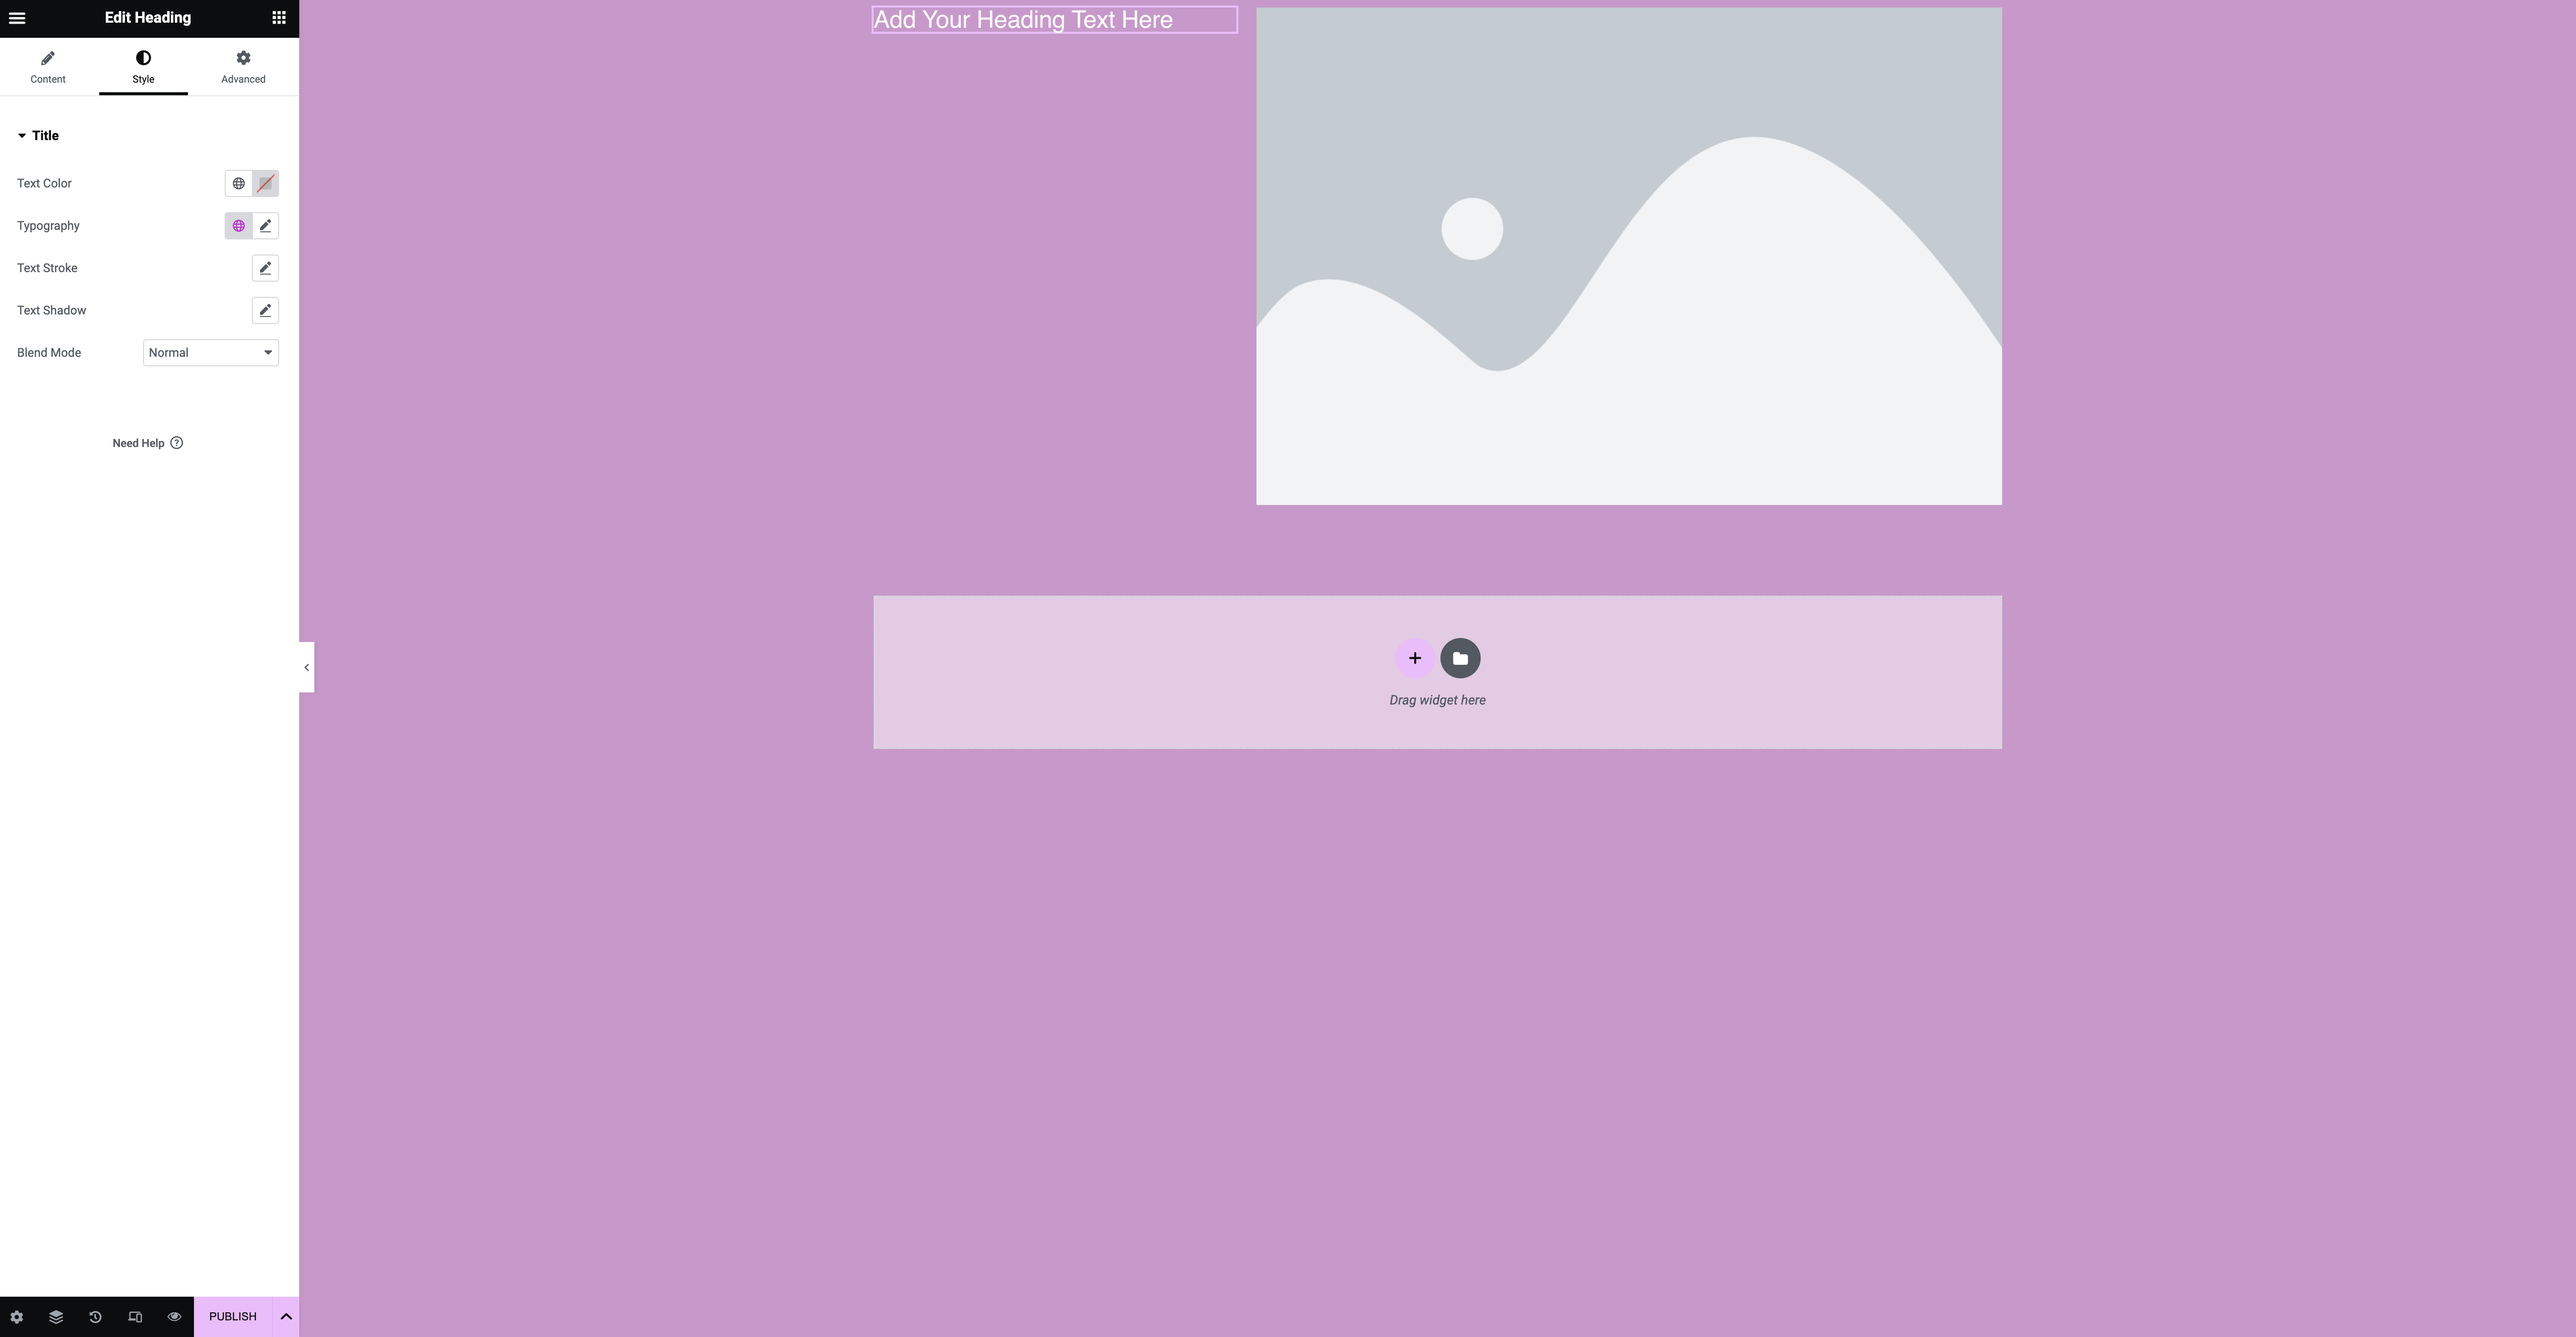
Next I want to add text, to set the global font for the entire site so that you don't have to keep changing it go into site settings by clicking on the three lines in the top left hand corner of the column and set your typography accordingly, by changing the size font and labels for each one. by clicking on the style icon you can select the typeface you would like along with the size and weight. i chose to keep mine fairly simple as i didn't want anything too flashy or in your face.
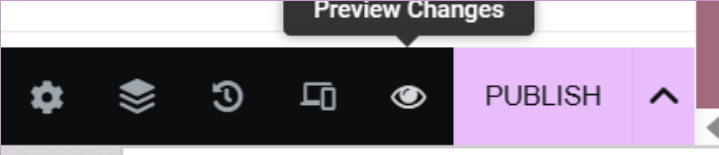
STEP 8
Once you are close to being ready to posting your final piece, you are able to preview the work you have done and see how it would look to someone viewing it. Once you are happy with how it looks you can move onto the next step.
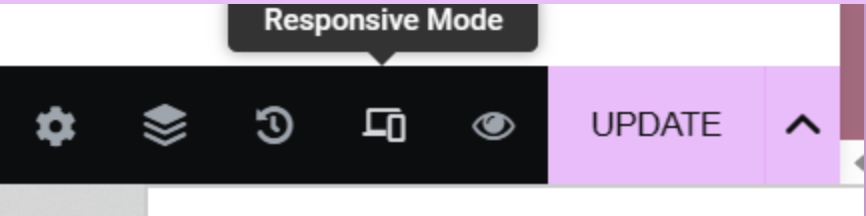
STEP 9
I now want to make sure my website is useable on all devices and to all of my target audience, I can do this by clicking on responsive mode. This is important to check as your page could look completely different on different devices.
STEP 10
Now that you have checked that you are happy with all the changes and edits, and have ensured your website is useable on all devices, you can now publish your website.